Ever visited a website, thought of a quick question, and left without getting it answered since nobody was there to answer it?
Well, this is exactly what is happening to your visitors when they don’t get instant answers from your WordPress website. Your visitors expect real-time answers, whether it is about your pricing, services, or support. Well, this is where AI chatbots enter the scene.
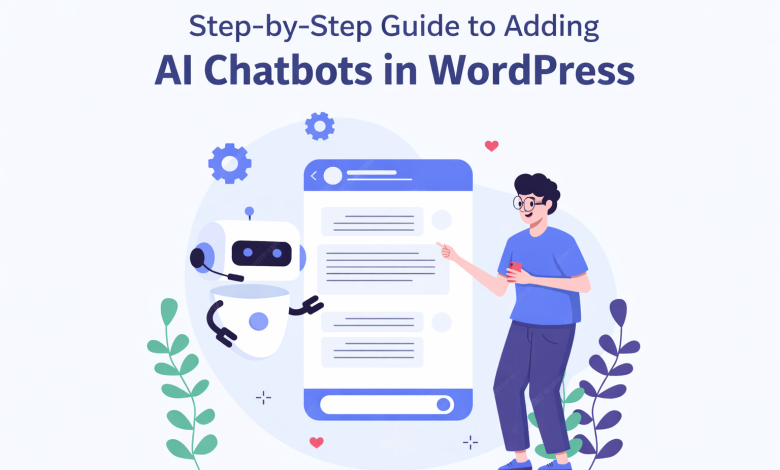
In this guide, you will learn how to add an AI chatbot to your WordPress website in a very simple manner.
Why Add an AI Chatbot to Your WordPress Site?
Before jumping into the “how,” let’s talk about the “why.”
AI chatbots can:
- Answer FAQs 24/7
- Capture leads automatically
- Guide users to the right pages
- Improve customer support
- Reduce bounce rates
For businesses that are investing in professional development, including those that utilize WordPress Development Companies in USA, it has quickly become a standard feature, not a luxury, for a business to include AI in their website.
If your website is your digital storefront, then a chatbot is your front-desk assistant.
Step 1: Define What You Want Your Chatbot to Do
Not all chatbots are the same.
Ask yourself:
- Do you want it for customer support?
- Lead generation?
- Booking appointments?
- Product recommendations?
- All of the above?
Clarity here makes setup easier.
For example, an eCommerce store may want product suggestions and order tracking. A service-based business may prioritize appointment booking and FAQs.
Start simple. You can always expand later.
Step 2: Choose the Right AI Chatbot Tool

There are two common ways to add a chatbot to WordPress:
Option 1: WordPress Plugin-Based Chatbots
These are installed directly from your WordPress dashboard.
They’re ideal if:
- You want simple integration
- You prefer minimal setup
- You don’t want to deal with external scripts
Option 2: Third-Party AI Chatbot Platforms
These provide advanced AI features and are connected using embed codes or integrations.
They’re ideal if:
- You want smarter AI conversations
- You need CRM or automation integration
- You want advanced analytics
When choosing, consider:
- Ease of use
- AI capabilities
- Customization options
- Pricing
- Support
If you’re unsure, consult your developer or agency. Many WordPress development companies in USA now specialize in AI integrations and can recommend the best fit for your business model.
Step 3: Install the Chatbot Plugin (If Using a Plugin)
If you’re going the plugin route, here’s how to install it:
- Log in to your WordPress dashboard
- Go to Plugins → Add New
- Search for your chosen chatbot plugin
- Click Install
- Click Activate
Once activated, you’ll typically see a new settings panel in your dashboard.
This is where you’ll configure your chatbot.
Step 4: Connect the AI Engine
Most AI chatbots require connection to an AI engine.
Depending on your provider, this may involve:
- Connecting via API key
- Signing into your chatbot account
- Selecting an AI model
- Syncing website content
This step allows your chatbot to “understand” your website and answer intelligently.
Some tools allow you to train the bot using:
- Website URLs
- FAQ documents
- PDFs
- Custom scripts
The better the training data, the better the responses.
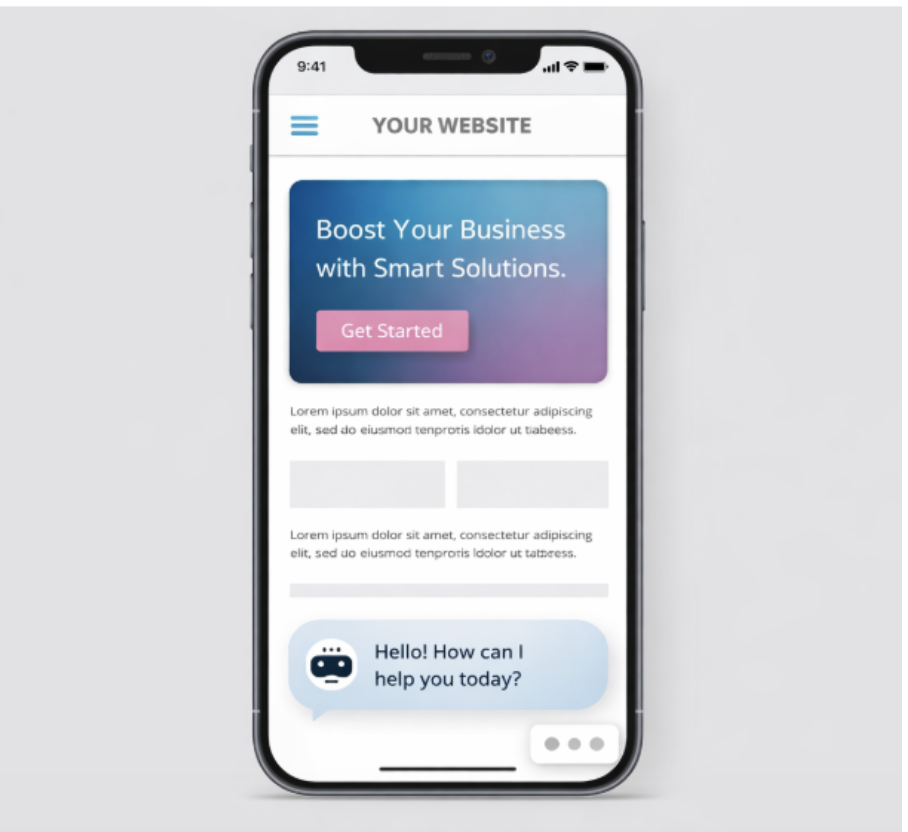
Step 5: Customize the Chatbot Appearance
Your chatbot should match your brand — not look like a random popup.
Customize:
- Chat bubble color
- Position (bottom right is common)
- Welcome message
- Avatar or icon
- Font style
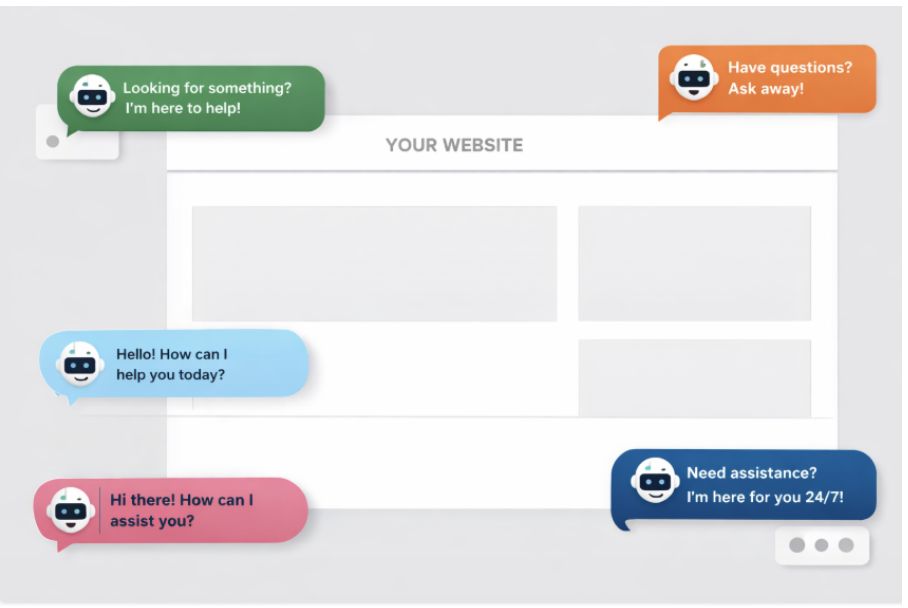
Example welcome messages:
- “Hi there! How can I help you today?”
- “Looking for something specific?”
- “Need assistance? I’m here 24/7.”
Keep it friendly and simple.
Avoid being overly robotic. Your chatbot represents your brand voice.
Step 6: Set Up Conversation Flows (Optional but Powerful)
Advanced chatbot tools allow you to create structured conversation flows.
For example:
If user asks about pricing →
Bot shares pricing page link →
Offers consultation booking
Or:
If user wants support →
Bot collects email →
Creates support ticket
These flows increase conversions dramatically.
You can start with basic FAQ responses and gradually add automation as you see common patterns in user queries.
Step 7: Test Before Going Live
This step is often skipped — and that’s a mistake.
Before publishing:
- Ask different types of questions
- Test on mobile and desktop
- Check response accuracy
- Test lead capture forms
- Verify links
Try asking vague questions to see how the AI handles them.
Testing ensures your chatbot enhances the user experience instead of frustrating visitors.
Step 8: Monitor and Optimize
Adding a chatbot isn’t a one-time task.
Check analytics regularly:
- What questions are users asking?
- Where are conversations dropping?
- Are leads increasing?
- Are users clicking recommended links?
Use these insights to:
- Improve chatbot training
- Add new FAQ answers
- Refine conversation flows
- Adjust welcome messages
Over time, your chatbot becomes smarter and more aligned with your audience.
Best Practices for AI Chatbots in WordPress
Here are some important tips:
Keep It Helpful, Not Pushy
Don’t let the chatbot interrupt immediately. Give users a few seconds to explore the page first.
Always Offer a Human Option
Include a “Talk to a human” option. AI is powerful — but sometimes people want real interaction.
Avoid Overcomplicating Setup
Start with core FAQs and expand gradually.
Keep Data Privacy in Mind
Ensure compliance with privacy policies and data regulations.
Common Mistakes to Avoid
- Installing too many chatbot plugins
- Ignoring mobile experience
- Not training the bot properly
- Forgetting to update information
- Making responses too long
Remember: clarity beats complexity.
Is Adding an AI Chatbot Worth It?
If your website gets traffic but low engagement, the answer is yes.
If you answer repetitive customer questions daily, yes.
If you want better lead capture without hiring additional staff, absolutely.
AI chatbots aren’t replacing humans — they’re supporting them.
Conclusion
Making your WordPress website integrate an AI chatbot is not just a trend; it is now an essential competitive strategy. The modern user demands instant response, guidance, and personalization. A chatbot integrated into your website can greatly improve engagement, conversions, and customer satisfaction without adding extra strain.
It is not hard to integrate an AI chatbot into your WordPress website. You can do it on your own, and it is one of the best decisions you can take with your website, regardless of how skilled your web developers are.