How to transfer contacts from iPhone to iPhone is a question many people ask when they get a new phone. When you switch devices, you may worry about losing important phone numbers or not knowing the easiest way to move them. Your contacts usually include family, friends, and work numbers, so losing them can be stressful. The good news is that there are several simple ways to move them safely.
In this guide, we will show you easy methods that anyone can follow. We will also introduce iCareFone, a helpful tool that can make transferring contacts between iPhones much quicker and easier.
Let’s get started.
Part 1: Transfer Contacts with iCareFone
If you’re looking for a simple answer to how can I transfer contacts from iPhone to iPhone, using Tenorshare iCareFone is one of the easiest options. This tool allows you to move contacts and other data between iPhones through a computer without relying on iCloud syncing. It also lets you manage your iPhone files directly, making it easier to import, export, and organize contacts.
For many users, this method is helpful when they want a faster way how to upload contacts from iPhone to iPhone, especially if they don’t want to deal with storage limits or complicated backup settings.
Key Features of iCareFone
Tenorshare iCareFone includes several features that make transferring contacts easier:
- Transfer contacts between iPhone and computer quickly
- Import and export contacts in formats like CSV or vCard
- Manage and organize iPhone data directly from a computer
- Back up contacts and restore them to another device
- Support for many data types like photos, videos, messages, and music
Because of these features, many users prefer this method when they want to copy iPhone contacts to iPhone without transferring all other data.
Step-by-Step Guide
Follow these simple steps:
Step 1: Get iCareFone Ready
Start by downloading and installing Tenorshare iCareFone on your computer. Once it’s installed, launch the program to begin.
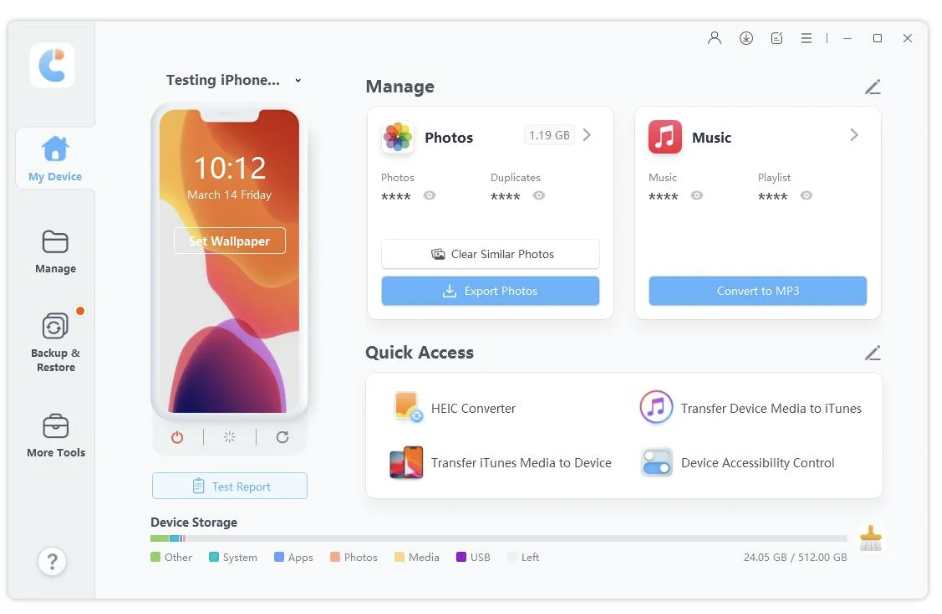
Step 2: Connect Your Old iPhone
You can connect your old iPhone either with a USB cable or over Wi-Fi by following the on screen instructions. Next, click on the Manage tab from the left menu.
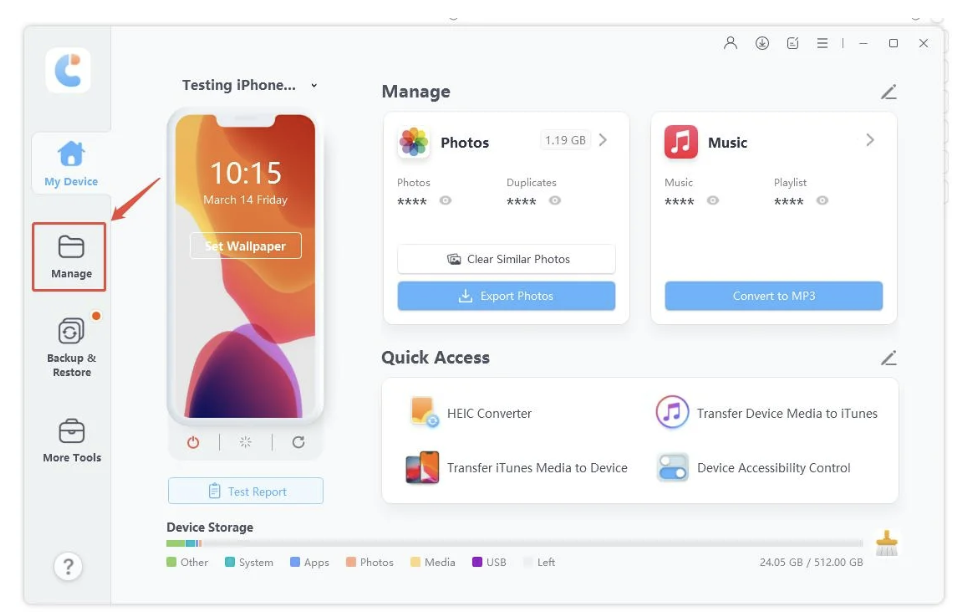
Step 3: Access Your Contacts
In the Manage section, select the Contacts icon. You’ll see all your saved contacts ready to transfer.
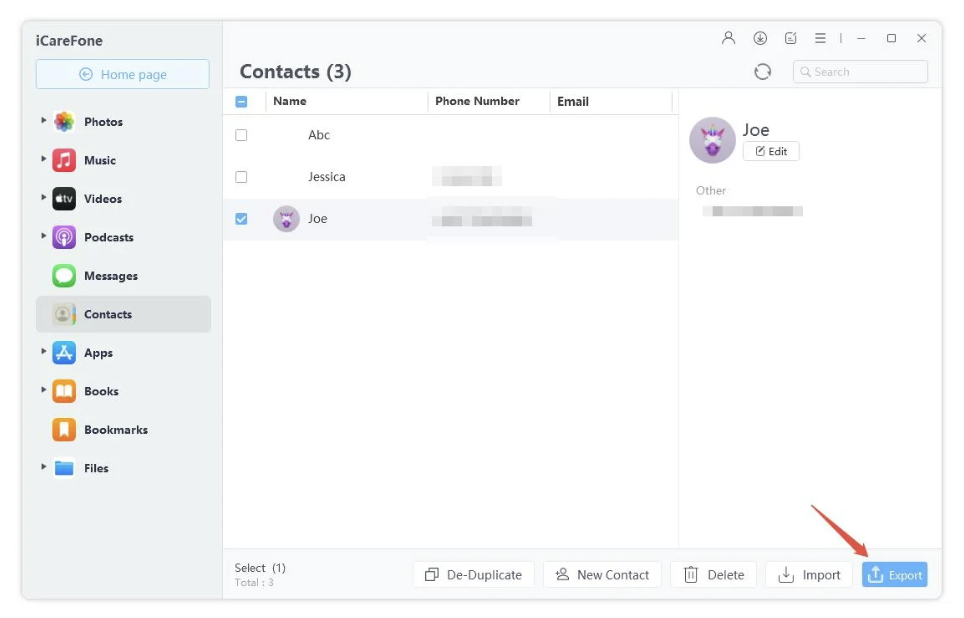
Step 4: Export Your Contacts
Choose Export and select the format you prefer, vCard or CSV. This saves your contacts to your computer, giving you a backup and making it easy to move only the contacts you want.
Step 5: Connect Your New iPhone
Disconnect your old iPhone and connect your new one using USB or Wi-Fi, just like before.
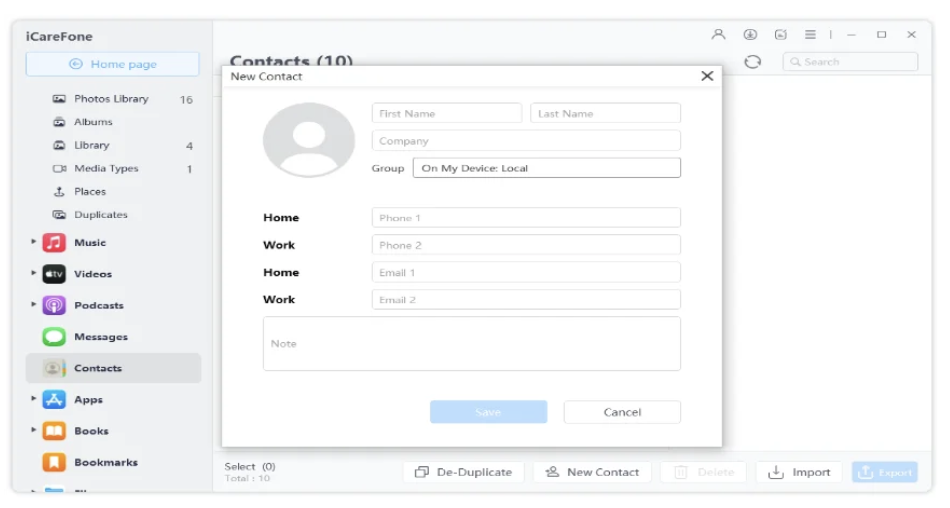
Step 6: Import Your Contacts
Click Import, then choose the contacts file you exported earlier. You can also create new contacts manually using the New Contact option if needed.
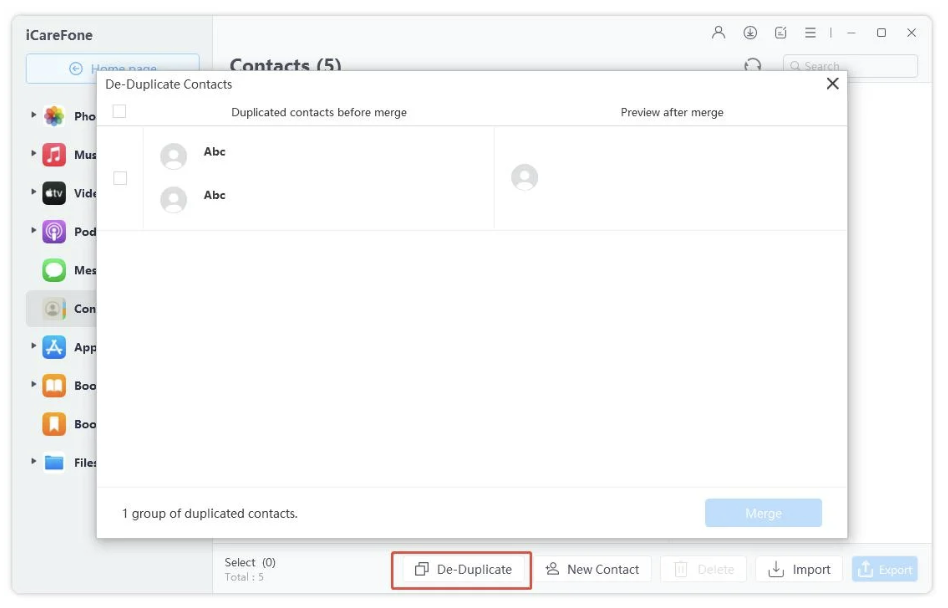
Step 7: Clean Up Duplicates
iCareFone has a handy De-Duplicate feature. It scans for any duplicate contacts and merges them automatically so your list stays clean and organized.
Step 8: Finish and Check
Once imported, all your contacts will appear on your new iPhone. You’re all set, your phone is ready to use with all your contacts safely transferred.
Part 2: Transfer Contacts with iCloud
Using iCloud is one of the easiest ways to move contacts between iPhones without a computer. It’s ideal if both devices use the same Apple ID and have internet access. Let’s see when this method works best and how to do it step by step.
Applicable Scenarios
iCloud contact transfer is perfect if:
- Both iPhones are signed in with the same Apple ID
- You have a stable Wi-Fi connection
- You want to transfer all contacts automatically without connecting to a computer
- You don’t need to selectively move specific contacts
This method is great for people asking how to upload contacts from iPhone to iPhone quickly and wirelessly.
Step-by-Step Guide
Here’s are the steps you can follow:
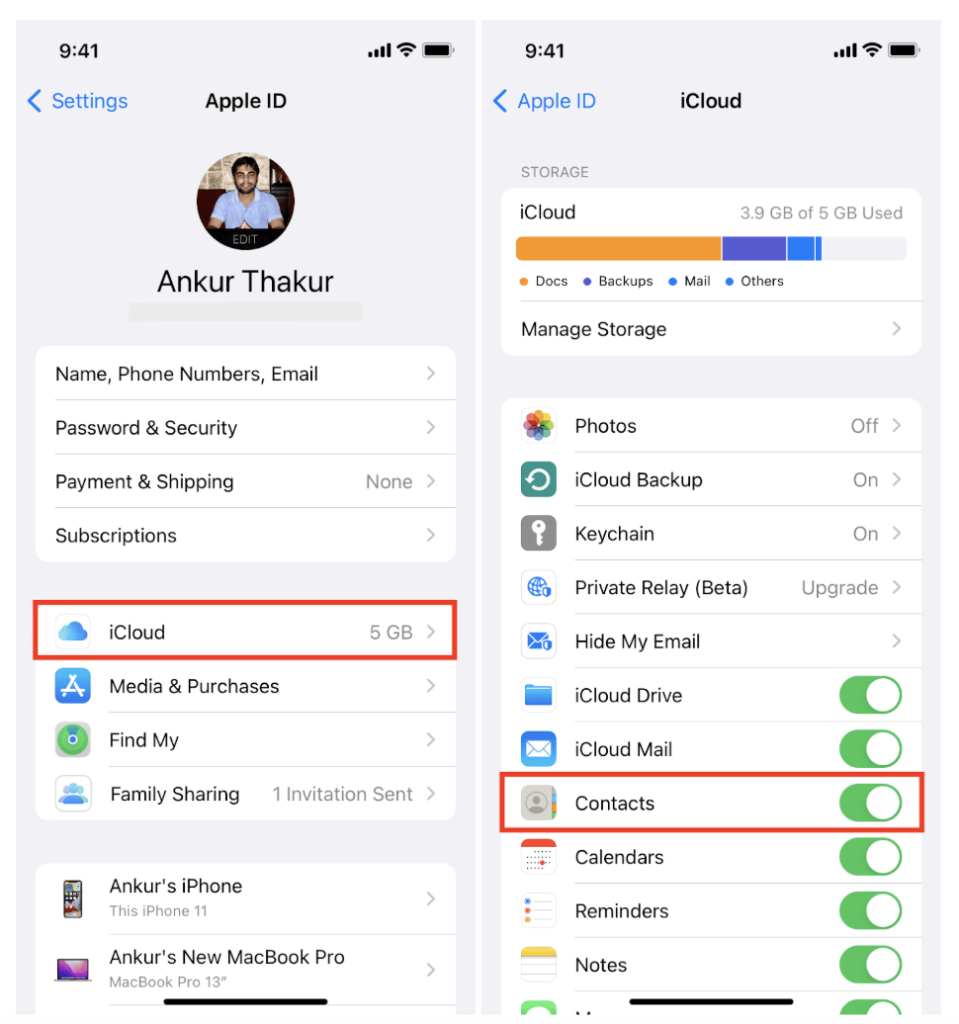
Step 1: Open Settings on your old iPhone and tap your Apple ID at the top of the screen.
Step 2: Go to iCloud and make sure the Contacts toggle is turned on. This will sync all your contacts to iCloud.
Step 3: Wait a few minutes to ensure all contacts are uploaded to iCloud. You can check by visiting iCloud.com from a computer.
Step 4: On your new iPhone, sign in with the same Apple ID.
Step 5: Go to Settings > Apple ID > iCloud and enable Contacts. Your contacts will automatically sync to the new iPhone.
Step 6: Open the Contacts app to confirm that all your phone numbers have appeared.
Note: If you have many contacts or large amounts of data, ensure your iCloud has enough space.
Using iCloud is a reliable way for anyone searching how to transfer contacts from iPhone to iPhone to move their data safely and wirelessly.
Part 3: Share Contacts Using AirDrop
AirDrop is perfect when you only need to share a few contacts quickly. It lets iPhones communicate directly over Wi-Fi and Bluetooth, making the process fast and easy.
Applicable Scenarios
AirDrop is ideal if:
- You only want to transfer a few contacts instead of your entire list
- Both iPhones are nearby
- Wi-Fi and Bluetooth are enabled on both devices
This is a great option for users wondering how to share contacts to iPhone without using a computer or cloud services.
Step-by-Step Guide
Here’s how to share contacts to iPhone:
Step 1: Open the Contacts app on your old iPhone.
Step 2: Select the contact you want to share with.
Step 3: Tap Share Contact and choose AirDrop.
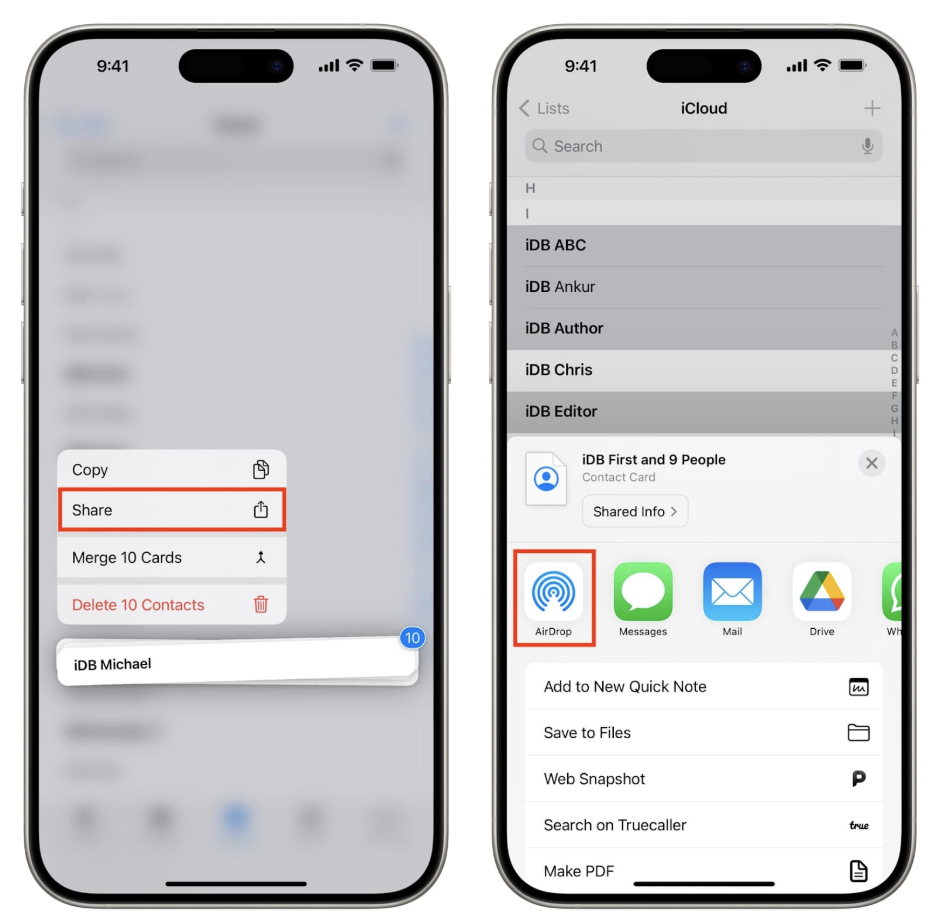
Step 4: From the list of nearby devices, select your new iPhone.
Step 5: Accept the contact on your new iPhone. It will be added automatically to your Contacts app.
Advantages
- Fast for individual contacts: No waiting for full device sync.
- Wireless: No cables or internet needed.
- Simple: Very easy for beginners.
- Best for small transfers: Not suitable for moving your entire contact list.
AirDrop is a handy tool for anyone needing a quick and direct solution when figuring out how to transfer contacts from iPhone to iPhone.
Part 4: Move Old iPhone Contacts to New iPhone Using iTunes
If you prefer a computer-based method or want a full backup, iTunes is a reliable choice. It’s especially useful if you want to move all contacts along with other data.
Applicable Scenarios
Using iTunes works best if:
- You want to back up your old iPhone completely
- You prefer an offline solution
- You are transferring all your data, not just contacts
This method is useful for users asking how to copy iPhone contacts to iPhone without relying on cloud storage.
Step-by-Step Guide
Here’s how to copy iphone contacts to iPhone:
Step 1: Connect your old iPhone to a computer and open iTunes.
Step 2: Click on your device icon and select Back Up Now. This will save all your iPhone data, including contacts, to the computer.
Step 3: Once the backup is complete, disconnect the old iPhone.
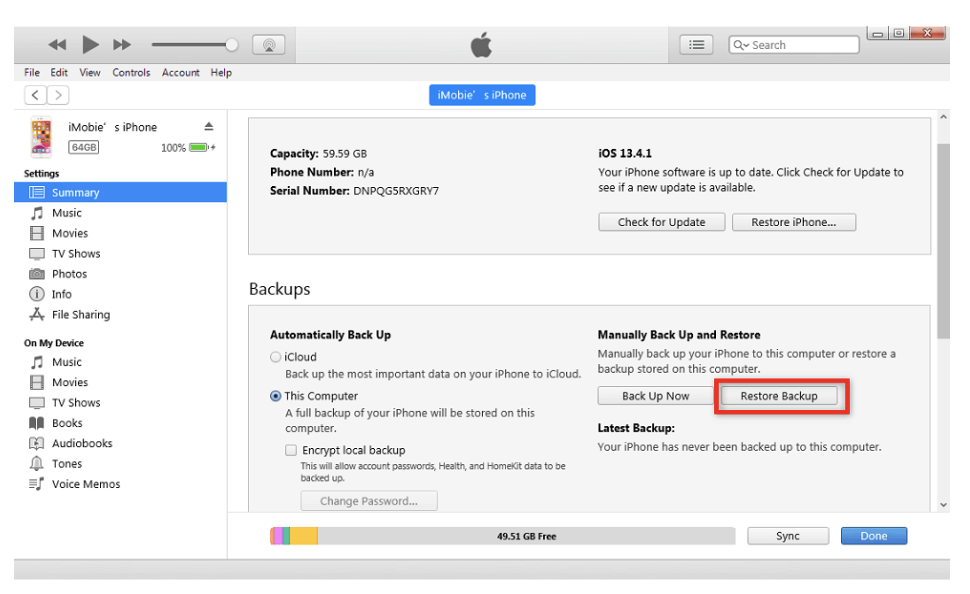
Step 4: Connect your new iPhone to the same computer.
Step 5: Select Restore Backup in iTunes and choose the latest backup from your old device.
Step 6: Wait for the restore process to finish. All your contacts and other data will appear on the new iPhone.
Advantages
- Full backup: Moves all contacts and other iPhone data safely.
- Offline method: Works without internet.
- Reliable: Official Apple method for restoring data.
- Slower for selective transfer: If you only need a few contacts, iTunes is less convenient.
Using iTunes ensures a complete transfer, making it a dependable choice for anyone looking for how to transfer contacts from iPhone to iPhone safely.
Conclusion
Transferring your contacts from one iPhone to another doesn’t have to be stressful. Whether you use iCloud, AirDrop, iTunes, or a third-party tool, each method has its own advantages depending on your situation. For quick wireless transfers, AirDrop works best; iCloud is perfect for automatic syncing; iTunes is ideal for a full backup; and Tenorshare’s iCareFone makes the entire process faster, simpler, and more flexible.
If you want to move all your contacts safely, selectively choose which ones to transfer, or avoid complicated syncing, iCareFone is the easiest solution. With just a few clicks, you can have all your contacts ready on your new iPhone without any hassle.