A Personalized Engraving Machine converts ordinary objects into custom-designed, magnificent pieces. It enables users to deliver precise engraving designs to wood alongside metal and acrylic materials and other material types. This instruction provides all the essential information for starting your engraving project, regardless of the item you want to work on.
CNC engraving offers superior accuracy. The machine implements your design exactly as specified to produce uniform outcomes in each operation. The system allows you to apply text but also enables you to develop complex designs and logo elements or display photographic images. The following discussion explains the systematic development of CNC engraving through detailed sequential instructions.
Step 1: Choose the Right Material
You must select the right material for the job before starting with engraving work. Different materials require different techniques. Novice engravers should begin their practice using wood and acrylic materials. These materials provide a simple carving process along with minor mistake tolerance.
For wood, hardwoods like maple, walnut, or cherry work great. Such materials maintain their shape well while absorbing details. Acrylic provides intricate designs because it creates smooth surfaces along with clean cuts. The correct settings enable the machining of aluminum metal despite its toughness.
Step 2: Design Your Engraving
The main step in the process entails designing your engraving pattern. You can make your design by using CAD (Computer-Aided Design) software. Fusion 360, Vectric VCarve, and Makera CAM function as easy-to-use programs that provide engraving functionality through multiple tools for beginners.
Design decisions should account for the amount of detail in the work. The CNC machine encounters difficulties while processing small items that contain delicate features such as text or logos, along with images. New CNC users should begin with simple shapes and text designs. The next step brings you to patterns with increased complexity.
Check and resize your design to fit the selected material dimensions. Keeping the engraving area symmetrical with the material surface while preventing excess empty space and overcrowding is essential.
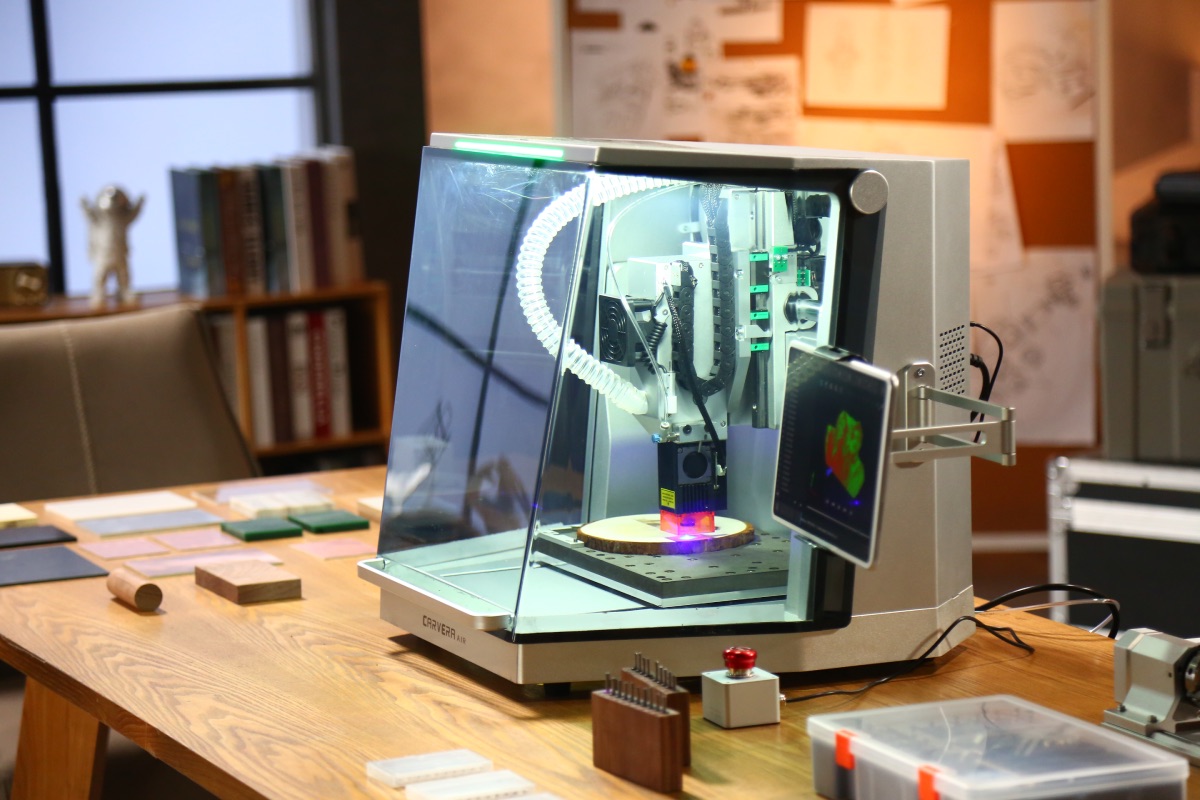
Step 3: Set Up Your CNC Machine
It is time to prepare your Desktop CNC Machine like Makera Carvera after completing the design work. Begin the process by applying the material onto the CNC bed surface. Double-sided tape or clamps or a vacuum table are tools that help maintain the piece in its position during engraving operations. Your design will suffer if you move a single time throughout the operation process.
Next, load your toolpath into the CNC machine’s software. The toolpath tells the machine exactly where to move and how deep to cut. Choose the right bit based on your design. A V-bit is ideal for engraving text and detailed lines, while a flat end mill works well for larger areas.
The machine needs calibration, while the spindle must operate at its correct speed settings. For wood and acrylic, a spindle speed of around 12,000–18,000 RPM works well. Metal engraving demands a slower spindle speed, which should operate at 8,000 RPM.
Step 4: Test on Scrap Material
Testing your final piece design should always start with a waste piece of material before moving forward. The toolpath verification and precise engraving depth can be checked through this process. Through this testing process you can identify any potential machine setting errors or material movement problems.
Carrying out tests will help you avoid unnecessary expenses while saving time. The last step allows you to optimize your settings until you reach perfect performance.
Step 5: Engrave the Design
It is time to begin work using the engraving device. Begin operation of the CNC machine while observing the cutting process against the material. Check for the high standard of cut quality. Check for burning or rough edges or inconsistent depth during the process then stop the machine before modifying the machine settings.
You should maintain a slow speed when operating the machine due to delicate design requirements. A gradual yet exact-speed cut delivers superior outcomes than a hurried cut that produces faulty results.
Step 6: Finishing Touches
After completing engraving, you should extract the piece from the CNC bed with attention to detail. Before moving on to the next step you must sand the edges of the material according to its substance to eliminate any rough burrs or uneven areas.
Wood finish or stain should be used with wood surfaces to highlight the engraved design. To improve the perception of engraved details on acrylic and metal surfaces one must apply polishing techniques. Apply a small amount of polish to your soft cloth for achieving professional and clean results.
Check all engraved text to maintain clear and well-defined lettering. Additional contrast becomes possible by using paint on engraved surfaces. You can achieve a good-looking finish with white or black paint on wood surfaces, and contrasting paint colors or anodized surfaces work best on metal components.
Final Thoughts
The process of engraving personalized designs through CNC machines gets better as skill level advances with practice. Your engraving skills improve through constant practice thus your final outcomes become better. Begin with straightforward jobs which evolve into complicated designs after you gain comfort using your CNC machine.
Using CNC enables users to master various creative projects that may range from personal gifts to decorative items and advanced professional products. Proper selection of materials combined with appropriate design approaches and machine settings enables you to make breathtaking unique items.
The main focus is experimental learning, so you will succeed. Working on different projects allows you to improve your CNC machine operation skills while enhancing your precision in using the CNC machine.