High-quality visuals are essential for capturing attention online. Whether for social media, blog posts, or marketing campaigns, a strong image can make all the difference. The problem is that creating custom graphics can be slow and expensive, often requiring design skills or costly software. Luckily, AI tools now offer a powerful solution, allowing you to generate stunning visuals in minutes for free.
This guide will walk you through the entire process. You’ll learn how to turn simple ideas into polished images without any prior experience. We’ll cover everything from defining your concept to crafting the perfect prompts, so you can start creating engaging visuals right away.
Step 1: Define Your Visual Goal and Concept
Before you start generating, it’s important to have a clear plan. A great visual starts with a strong idea. Rushing this step often leads to generic or irrelevant images that don’t connect with your audience. Take a moment to think about what you want to achieve with your graphic.
Ask yourself a few key questions. What is the core message you want to communicate? Who is your target audience, and what style will resonate with them? Are you aiming for a professional, playful, futuristic, or artistic mood? Answering these helps you build a solid foundation. Once you have a direction, brainstorm a list of keywords and descriptive terms related to your concept. This list will become the building blocks for your AI prompts later on.
Step 2: Choose Your AI Generation Method
There are two primary ways to create visuals with AI, and the one you choose depends on your starting point. You can either create something entirely from scratch using only text or transform an existing picture into something new. Understanding the difference is key to using these tools effectively.
The first method is text-to-image, where you describe the image you want in a text prompt. This is perfect when you have a clear vision but no starting assets. A Free AI Image Generator Online lets you bring completely new concepts to life, from photorealistic scenes to abstract art, just by using words. It’s the ideal choice for pure creative expression and originality.
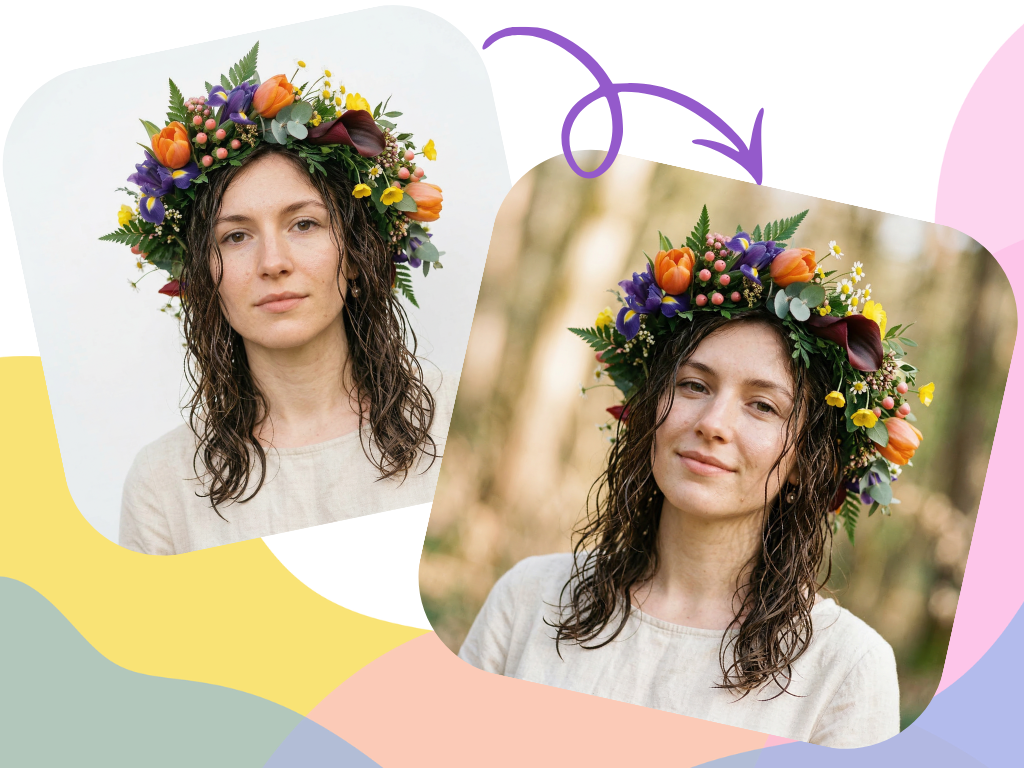
The second method is image-to-image generation. This technique uses a source image as a starting point and applies a new style or concept to it based on your text prompt. Using a free image to image generator is fantastic for tasks like turning a simple sketch into a detailed illustration, applying a consistent artistic style across different photos, or reimagining a product in a new setting.
Step 3: Craft the Perfect Text Prompt
Your text prompt is the most important element in AI image generation. It’s your instruction to the AI, and the quality of your prompt directly impacts the quality of the output. Vague prompts lead to generic results, while detailed prompts produce specific, high-quality visuals. A great prompt usually includes a subject, the action, the environment, and the overall style.
Here’s how to structure a strong prompt:
* Subject: Be specific. Instead of “a car,” try “a vintage red sports car.”
* Action & Setting: Describe what is happening and where. For example, “driving on a winding coastal road at sunset.”
* Style & Mood: Define the artistic direction. You can use terms like “photorealistic,” “in the style of anime,” “cyberpunk,” “minimalist logo,” or “watercolor painting.”
* Technical Details: Add camera and lighting specifics for more control. Words like “cinematic lighting,” “4K resolution,” “soft focus,” and “wide-angle shot” can dramatically improve the outcome.
Let’s look at an example. A weak prompt would be: “A dog.” A much stronger prompt is: “A happy golden retriever puppy, playing in a field of wildflowers, soft morning sunlight, photorealistic, shallow depth of field.” The second prompt gives the AI much more information to work with, resulting in a more compelling and specific image.
Step 4: Upload and Configure Your Source Image
If you’re using the image-to-image method, this step is for you. Your source image provides the structural foundation for the AI to build upon. The quality of your starting image matters. A clear, well-lit photo or a clean sketch will almost always produce better results than something blurry or poorly defined.
Once you upload your image, you’ll likely see a setting called “strength” or “influence.” This parameter is crucial because it tells the AI how closely to follow your original image versus how much creative freedom it should take from your text prompt. A low strength value will result in an image that looks very similar to your original, with minor stylistic changes. A high strength value will heavily alter the original, using it more as loose inspiration. Experiment with this setting to find the right balance for your project.
Step 5: Generate and Iterate
Your first result might not be perfect, and that’s completely normal. The AI art creation process is one of iteration and refinement. Most tools allow you to generate several variations at once. Look through them and identify what works and what doesn’t. This helps you understand how the AI is interpreting your prompt.
If the images aren’t quite right, go back and adjust your prompt. If the AI is including unwanted elements, you can use negative prompts. These tell the AI what to exclude. For example, if you’re generating a landscape and people keep appearing, you could add a negative prompt like `no people, no buildings`. You can also try swapping descriptive words. Changing “bright sunlight” to “dramatic evening light” can completely alter the mood of the image. Keep tweaking and regenerating until you get a visual that matches your vision.
Step 6: Edit and Finalize Your Visual
After generating an image you’re happy with, the final step is to perform some light editing. Most AI-generated images can benefit from a few touch-ups to make them ready for publishing. You don’t need complex software for this, as many free online editors can handle basic adjustments.
Start by checking for any strange artifacts. AI can sometimes create oddities like extra fingers on a hand or distorted text in the background. Crop the image to fit your desired dimensions, whether it’s a square for Instagram or a wide banner for a website. You can also make simple color corrections to enhance the contrast or saturation. Finally, if needed, you can add text overlays or your logo using a separate graphic design tool.
Tips for Better AI Visuals
To get the most out of free AI tools, keep these best practices in mind. They’ll help you work more efficiently and produce more professional results.
Start with Simple Prompts
When you’re new to a tool, don’t start with an extremely complex prompt. Begin with a simple subject and style to see how the AI responds. Gradually add more details like lighting, camera angles, and background elements as you become more comfortable. This helps you learn the tool’s nuances without getting overwhelmed.
Use Negative Prompts
One of the most powerful features in many AI generators is the negative prompt. This is where you specify what you *don’t* want to see. If you want a clean product shot, you might add negative prompts like `shadows, reflections, text, people`. This helps clean up your results and reduces the need for extensive editing.
Experiment with Different Styles
Don’t limit yourself to just “photorealistic.” AI tools are incredibly versatile. Try out different artistic styles to see what fits your brand. You can request styles like “vector illustration,” “3D render,” “charcoal sketch,” “impressionist painting,” or “synthwave.” Exploring various styles can unlock new creative directions for your projects.
Understand Aspect Ratios
Always generate your images with the final use case in mind. If you need a vertical image for a social media story, set the aspect ratio to 9:16. For a YouTube thumbnail, use 16:9. Generating the image in the correct shape from the start saves you from awkward cropping later and ensures your composition looks intentional.
Common Mistakes to Avoid
Navigating AI image generation can be tricky at first. Here are some common pitfalls to watch out for to ensure a smoother creative process.
Writing Vague or Contradictory Prompts
A prompt like “A business meeting” is too vague. The AI has to guess the setting, the people, and the mood. A better prompt is “Three diverse professionals in modern office attire, collaborating around a sleek conference table, bright and airy office.” Also, avoid conflicting terms like “dark and sunny,” as this can confuse the AI.
Expecting a Perfect Image on the First Try
AI image generation is not a one-click solution. It’s a creative partnership between you and the tool. It often takes several attempts and prompt adjustments to get the desired result. Be patient and willing to experiment. Treat it as a process of discovery rather than a simple command.
Ignoring Potential AI Artifacts
Always zoom in and inspect your final images carefully. AI can sometimes create subtle but distracting flaws, such as warped faces in the background, text that looks like nonsense, or objects that blend together unnaturally. Catching these small errors before you publish maintains the professionalism of your content.
Forgetting About Composition
While the AI handles the rendering, you are still the director. Think about basic principles of composition. Use prompts to guide the AI on where to place the subject. Phrases like “centered subject,” “rule of thirds composition,” or “symmetrical” can help you create a more balanced and visually appealing image.
Conclusion
Creating compelling visuals no longer requires a large budget or years of design training. With free AI tools, you have the power to produce high-quality, custom graphics in a matter of minutes. By following a structured process of defining your concept, choosing the right method, and crafting detailed prompts, you can unlock a new level of creative freedom.
The key is to embrace the iterative nature of AI generation. Experiment with different styles, refine your prompts, and don’t be afraid to start over. The more you practice, the better you’ll become at translating your ideas into stunning visuals that engage your audience and elevate your brand.