Claude Code supports MCP servers natively, but connecting it to multiple tool servers individually creates config sprawl, no access control, and zero cost visibility. An MCP gateway sits in front of all your tool servers and exposes them through a single endpoint. This guide walks through connecting Claude Code to Bifrost’s MCP Gateway, from installing the gateway to scoping tool access with virtual keys, in under ten minutes.
If you’re using Claude Code as your primary coding agent, you’ve probably already connected it to at least one MCP server. Maybe a filesystem server, a GitHub integration, or a database tool. Each one gets its own entry in your MCP config. Each one manages its own credentials. And none of them know about each other.
That works fine when you have two or three servers. It stops working when your team has fifteen, with different people needing access to different tools.
This is the problem an MCP gateway solves. Instead of configuring every MCP server directly in Claude Code, you point Claude Code at a single gateway endpoint. The gateway handles discovery, authentication, access control, and cost tracking for every tool server behind it.
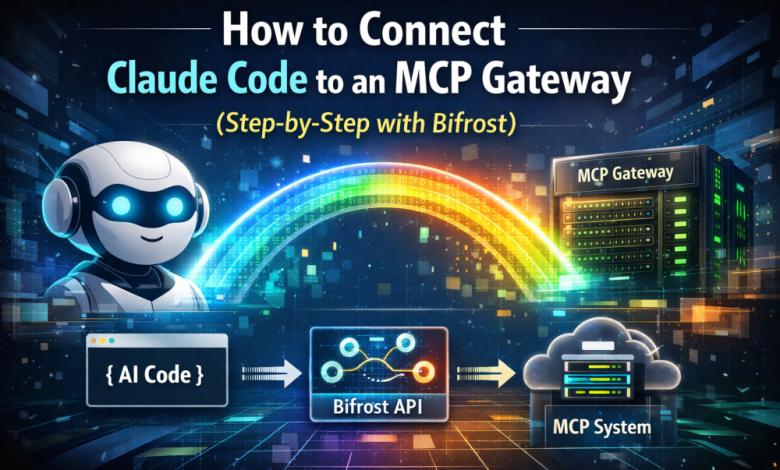
Bifrost is an open-source AI gateway by Maxim AI that acts as both an MCP client and an MCP server. It connects to your upstream tool servers (filesystem, web search, databases, internal APIs) and exposes all of them to Claude Code through one /mcp endpoint. Here’s how to set it up.
Prerequisites
Before starting, make sure you have the following ready:
- Node.js 18+ installed (for both Bifrost and Claude Code)
- Claude Code installed and authenticated (npm install -g @anthropic-ai/claude-code)
- At least one MCP-compatible tool server you want to connect (filesystem, GitHub, Slack, or any custom server)
Step 1: Start Bifrost
Bifrost runs as an HTTP API gateway with a built-in web UI. The fastest way to get it running locally is with npx:
npx -y @maximhq/bifrost
For production deployments, Docker is the better option:
docker pull maximhq/bifrost
docker run -p 8080:8080 maximhq/bifrost
Once running, open http://localhost:8080 in your browser. You’ll see Bifrost’s dashboard with sections for providers, MCP clients, logs, and analytics. No config files needed to get started. Everything can be managed through the UI or the API.
Step 2: Add Your MCP Servers to Bifrost
Navigate to the MCP section in the Bifrost dashboard and add your first MCP server. Bifrost calls these MCP clients since it acts as the client connecting to your upstream tool servers.
Bifrost supports three connection protocols:
- STDIO for local tools and scripts
- HTTP for remote services (recommended for cloud-based tools)
- SSE for servers using Server-Sent Events
For each server, provide a name, connection type, and the endpoint URL or command. If the upstream server requires authentication, you can add headers directly in the UI.
Once saved, Bifrost connects, discovers available tools, and starts syncing them automatically. You’ll see each connected server with a live health indicator and tool count.
Repeat this for every MCP server you want to expose to Claude Code. The point is that Claude Code only needs to know about one endpoint. Everything else is Bifrost’s job.
Step 3: Create a Virtual Key for Claude Code
Virtual keys are Bifrost’s primary governance mechanism. Each virtual key is a scoped credential that controls which tools a consumer can access, along with budgets, rate limits, and routing rules.
Go to the Virtual Keys section in the Bifrost dashboard and create a new key. Under MCP settings, select which tools this key is allowed to call. The scoping is per-tool, not per-server. You can grant crm_lookup_customer without granting crm_delete_customer from the same server.
Any request made with this key will only see the tools it has been granted. The model never receives definitions for tools outside its scope, so there is no prompt-level workaround.
For managing access across many keys (different teams, different environments), Bifrost also supports MCP Tool Groups: named collections of tools that you define once and attach to any combination of virtual keys, teams, or users.
Step 4: Connect Claude Code to Bifrost
This is where everything comes together. Bifrost exposes all connected MCP servers through its /mcp endpoint. You add Bifrost as an MCP server in Claude Code using that URL.
Claude Code will discover every tool from every MCP server connected to Bifrost, filtered by your virtual key’s permissions, through a single connection. When you add new MCP servers to Bifrost later, they appear in Claude Code automatically. No client-side config changes required.
To verify the connection, run /mcp inside Claude Code. You should see bifrost listed as connected, along with all the tools your virtual key has access to.
Step 5 (Optional): Enable Code Mode
By default, every MCP tool definition from every connected server gets injected into the model’s context on every request. If you have 5 servers with 30 tools each, that’s 150 tool definitions consuming tokens before the model even sees your prompt.
Bifrost’s Code Mode changes this. Instead of dumping every definition into context, Code Mode exposes your MCP servers as a virtual filesystem of lightweight Python stub files. The model reads only what it needs, writes a short script to orchestrate the relevant tools, and Bifrost executes it in a sandboxed Starlark interpreter.
The model works with four meta-tools: listToolFiles, readToolFile, getToolDocs, and executeToolCode. It reads only the tool signatures it needs, writes a short orchestration script, and Bifrost runs it in a sandboxed environment.
To enable it, open the MCP client settings in the Bifrost dashboard and toggle Code Mode on. No schema changes, no redeployment. Token usage drops immediately, with 50%+ cost reduction on multi-step workflows.
What You Get After Setup
Once Claude Code is connected and your agents are running, Bifrost gives you full visibility into everything that happens:
- Complete logging of every tool execution decision, including function calling arguments, results, and performance metrics, all captured asynchronously with zero impact on request latency
- Request-level cost and token tracking across all LLM interactions, with filterable logs by provider, model, latency, and cost range
- Real-time monitoring dashboard with advanced filtering, search across conversation content, and WebSocket-based live log streaming
When an agent misbehaves in production, you need to trace exactly which tools it called, in what order, and what came back. That kind of observability is not optional.
Wrapping Up
Connecting Claude Code to individual MCP servers works for solo experiments. It does not work when you need access control, cost visibility, or centralized management across a team.
Bifrost is open source, runs locally with one command, and handles everything from tool discovery to per-tool cost tracking. If you’re already running Claude Code with multiple MCP servers, the migration is straightforward: add your existing servers to Bifrost, create a virtual key, and point Claude Code at /mcp.
Get started with Bifrost or explore the GitHub repo.