Capturing stunning underwater shots requires more than just a camera—it demands the right gear to give you creative control. Building your own DIY underwater camera rig is a game-changer, offering flexibility and customization that store-bought options often lack. Whether you’re a seasoned diver or a curious hobbyist, crafting your rig lets you tailor it to your unique needs and budget.
Why Build Your Own DIY Underwater Camera Rig?
Building your own rig gives you control over its design, allowing adjustments based on specific shooting needs. Customizations can include unique mounting angles, protective enclosures, or accessories like lighting arms tailored to your preferences.
A DIY approach can save money compared to pre-built models, especially if you already have tools or materials at home. By sourcing affordable components, you create a functional setup without overspending.You can experiment with materials to make the rig more lightweight or durable, depending on the underwater environment you plan to capture. For example, using a combination of aluminum brackets and plastic housings can balance weight and strength.
Designing your own rig lets you adapt the setup for multiple cameras or unconventional dimensions. If your camera requires a unique configuration, this flexibility becomes invaluable.
Essential Tools And Materials
Constructing a DIY underwater camera rig requires specific tools and materials that enable reliable underwater performance. Each item plays a role in ensuring functionality and durability.
Choosing The Right Camera And Housing
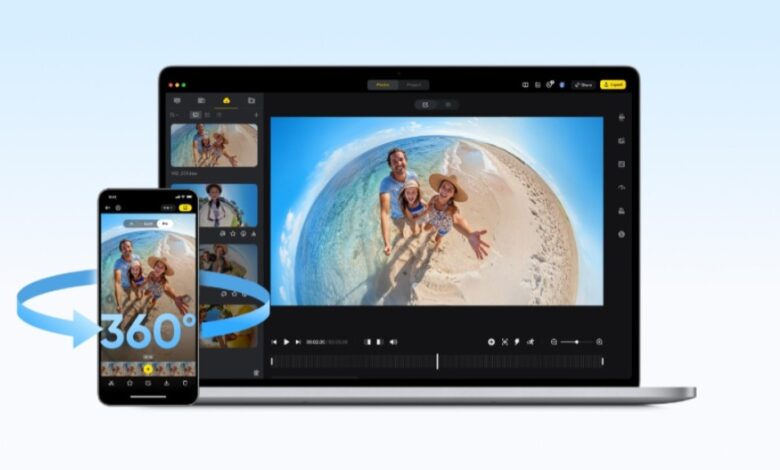
Select a compact camera that simplifies housing integration. Action cameras and point-and-shoot devices work well because of their size and weight. With its high-resolution imaging and compact design, Insta360 X5 is well-suited for integration into custom underwater rigs. Match the housing design to your photography needs. For immersion, opt for sealed housings. If filming just below the surface, consider a periscope-style design. Align the camera lens precisely with a clear acrylic window for direct, unobstructed shooting.
Gathering Tools And Components
Acquire sturdy materials like PVC pipes, elbows, and end caps as building blocks. Transparent acrylic or plexiglass sheets create waterproof viewing windows. Use waterproof sealants such as silicone caulk and thread seal tape to secure joints against leaks. Equip yourself with basic tools, including a hacksaw, Dremel, and sandpaper, to cut, shape, and connect components. Prepare a spacious work area for assembly.
Safety Considerations For Underwater Use
Perform a leak test before use by submerging the sealed rig in water, observing if any bubbles escape. Limit usage to shallow or moderately deep waters to prevent structural failure. Secure cables or accessories to eliminate potential seal breaches. Inspect for condensation internally; airtight seals reduce moisture risks. Such precautions enhance reliability during underwater photography.
Step-By-Step Guide To Building Your Rig
Creating your own underwater camera rig involves thoughtful planning and precise assembly. These instructions break down the process for ease of execution.
Designing The Framework
Use PVC pipes and connectors to construct a strong, lightweight structure. Utilize straight pipes for the main frame and T-joints for flexibility in layout. Factor in space for the camera mount, ensuring stability during use. Add a tripod-compatible mount to allow adjustments for diverse angles. Consider incorporating grip sections along the frame for easier underwater handling.
Assembling The Rig
Connect the PVC pieces firmly to form the skeleton. Tighten joints to minimize movement and improve steadiness. Seal all open ends with caps or plugs, which not only provide buoyancy but also prevent water ingress. Ensure equal weight distribution to maintain equilibrium underwater. Test the rig’s stability while holding it to identify potential weak points.
Waterproofing And Sealing Techniques
Apply waterproof tape along threaded joints to secure them tightly. Reinforce edges with silicone to create watertight seals. Enhance protection by inserting rubber washers between connecting components. Double-check every seal for small gaps or inconsistencies. Submerge the assembled rig in shallow water to verify that no leaks are present before considering deeper use.
Tips For Enhancing Creative Control
Building a customized underwater camera rig enables precise control over your photography setup, aligning with your creative vision. Thoughtful design and functionality adjustments can significantly improve shooting capabilities.
Adjusting For Lighting Challenges
Attach dome ports to reduce image distortion and capture more natural light underwater. Use transparent materials like acrylic for lens ports to maintain clarity. Waterproof LED lights mounted securely to the rig can improve visibility in deeper or murky water. Avoid fogging by applying silicone sealants to create airtight closures. Conduct water tests to confirm seals are effective and ensure clear, vivid images during shooting.
Adding Mobility And Stability Features
Lightweight materials such as PVC and acrylic make your rig easier to maneuver. Add ergonomic grips or handles to improve handling underwater. Use stabilizing weights or attach small buoyancy aids to counterbalance any tipping caused by currents or uneven rig weight distribution. Consider modular designs that allow weight adjustments based on specific setups or environments. This versatility makes the rig more adaptable for steady shots.
Optimizing For Different Shooting Conditions
Flexible mounts, which permit angle adjustments, are useful for switching between video and stills. Integrate smaller lens ports to enhance macro photography or larger dome ports for wide-angle scenes. Apply waterproof tape to screw joints and inspect seals frequently to prevent leaks under varied conditions. Prioritize adaptability by designing interchangeable components, allowing for smooth transitions between different photographic situations. Focus on optimizing clarity and framing underwater.
Testing And Troubleshooting The Rig
Testing ensures that your DIY underwater camera rig functions properly under various conditions. Evaluate its performance and address potential issues before extended underwater use.
Conducting Dry And Wet Tests
Confirm the camera fits securely within the rig during a dry test. Inspect all seals thoroughly for any visible gaps or misalignments.
Perform a shallow-water test to expose potential leakage. Submerge the rig incrementally while monitoring for air bubbles or water intrusion. Test all camera functions, including movement and image clarity.
Addressing Common Issues
For leaks, reapply waterproof adhesive around joints and reassess the seals. Replace damaged components if needed. When using a setup with an Insta360, proper sealing is especially important to protect the device’s sensitive electronics.
Realign the mirror or plexiglass to fix camera misalignment. Ensure all angles reflect the intended view clearly. Add or remove weights to adjust buoyancy. Subtest in water to fine-tune balance and prevent unexpected shifts during use.
Benefits Of A DIY Approach
- Cost Efficiency
Building your own underwater camera rig can save money compared to commercial setups. By reusing household materials or locally available supplies, costs drop significantly. - Personalization
Customizing the rig allows you to match it with your specific photography style or project requirements. You can adapt the housing size, integrate custom mounts, or add unique features like extra stability. - Flexibility in Design
A DIY rig supports experimenting with layouts and components. Modifying elements like lighting placement or handle configurations lets you achieve preferred angles and effects. - Skill Development
Constructing the rig enhances your technical knowledge. You learn about waterproofing techniques, material compatibility, and stabilizing mechanisms during the process. - Community Interaction
Sharing designs and improvements with others encourages collaboration. Online forums or local groups often offer feedback or inspiration for further refinement of your setup.
Conclusion
Building your own DIY underwater camera rig gives you the freedom to tailor your setup to your creative vision while staying budget-friendly. It’s an opportunity to explore innovative designs, enhance your technical skills, and create a rig that aligns perfectly with your photography needs.
By customizing your rig, you can overcome common underwater challenges and capture stunning shots with greater control. Whether you’re experimenting with materials or refining your setup for specific conditions, the possibilities are endless. Dive into the process, test thoroughly, and enjoy the rewards of your personalized underwater photography gear.